Appearance
Organization Management
Use Organization Management when you need to manage your school, program, or teaching group's settings, users, and access. Most instructors do not need this page day to day; it is mainly for admins and support staff.
Understanding Organization Roles
Role Hierarchy:
| Role | Scope | Capabilities |
|---|---|---|
| Super Admin | Whole platform | Helps support all organizations, create organizations, manage payment status, configure single sign-on, and manage platform languages |
| Admin | One organization | Manages users, organization settings, and all classes in that organization |
| Instructor Admin | One organization | Can teach classes and help manage instructors, users, and classes |
| Instructor | Assigned classes only | Teaches assigned classes, manages students, creates lessons, and reviews work |
Organization Details Page
What You'll See:
1. Performance Metrics (Dashboard):
- Active students count
- Average completion rate
- Assignments due
- Change indicators (↑ increased, ↓ decreased)
2. Organization Information Card:
- Name: Organization display name
- Description: Purpose or notes about the organization
- Time zone: The time zone used for lesson availability, due dates, and Daily Review timing
- Logo: Organization branding (if uploaded)
- Edit Button: Opens edit dialog (Admin/Super Admin only)
3. Quick Links (Super Admin Only):
- Users → Manage instructors and admins
- Classes → View all organization classes
- Translations → Manage translation dictionary
Editing Organization Settings
Access: Click "Edit Organization" button
Form Fields:
1. Organization Name
- Required
- Max 255 characters
- Example: "Waadookodaading Ojibwe Language Institute"
2. Description
- Optional
- Max 500 characters
- Use for mission statement, notes, or context
- Example: "K-12 Ojibwe immersion school serving 200+ students"
3. Time Zone
- Required
- Search by city, region, or time zone name
- Important because it affects lesson scheduling and Daily Review timing
- Examples include Eastern Time, Central Time, Pacific Time, Mountain Time, and UTC
4. Organization Logo
- Optional
- Supported formats: JPEG, PNG, WebP, BMP, TIFF
- Upload Process:
- Click "Choose Logo" or "Replace Logo"
- Select image file from your computer
- Preview appears immediately
- Click "Create" or "Save" to upload
- Remove Logo:
- Click "Remove Logo" to delete current image
- Organization will use default placeholder
Save Changes:
- Click "Save Changes"
- Success notification confirms update
- Page reloads with new settings
User Management
User List View
The user list displays all instructors and admins in your organization.
Columns:
- Name: First and Last name
- Email: User's email address
- Roles: Badges showing "Instructor" and/or "Administrator"
- Account Status:
- Active: User has set their password and can log in
- Setup Pending: User was invited but hasn't set their password yet
- Deactivated: User's account has been disabled
Controls:
- Search: Filter by name or email
- Show Deactivated: Toggle to show/hide deactivated users
- Page Size: 10, 25, 50, or 100 users per page
- Add User: Invite new instructors or admins
Adding Users (Invitations)
Button: "Add User" (top-right)
Step-by-Step:
Click "Add User" → Dialog opens
Fill in User Information:
- Email (Required): Valid email format
- First Name (Required): Max 255 characters
- Last Name (Required): Max 255 characters
Assign Roles (At least one required):
- ☐ Instructor: Can teach classes
- ☐ Administrator: Can manage organization and users
Click "Add User"
What Happens Next:
- The app creates a user account with status Setup Pending.
- Setup email is automatically sent to the user with:
- Welcome message
- Setup link
- Instructions to create their password
- User clicks the link and sets their password
- Account status changes to "Active"
- User can now log in
Editing Users
Click on any user row → Edit dialog opens
Editable Fields:
Name:
- First Name (Required)
- Last Name (Required)
- Use Edit button to fix typos in names
Roles:
- ☐ Instructor checkbox
- ☐ Administrator checkbox
- At least one must be selected
Role Change Rules:
Cannot Remove Instructor Role If:
- User has active classes assigned
- Warning message shows list of affected classes
- Must reassign classes first (see Deactivation)
Cannot Remove Admin Role If:
- You're editing yourself
- Prevents accidentally removing your own admin access
- Another admin must remove your role
Save Changes:
- Click "Save"
- User's roles update immediately
- User remains logged in (no interruption)
Deactivating Users
Purpose: Temporarily disable a user's access without deleting their data.
When to Use:
- Instructor leaves for sabbatical
- End of semester, rehire later
- Temporary suspension
- Preserve data for records
Deactivation Process:
Click "Deactivate" action on an active user
Confirmation dialog appears with warning:
- "Deactivated users cannot log in, but their data is preserved"
- User's name displayed for confirmation
If user is an instructor with active classes:
- Dialog shows list of assigned classes
- Required: Select another instructor to reassign classes to
- Dropdown filters to only show:
- Active instructors (not deactivated)
- Users who have set their password
- Not the user being deactivated
Click "Deactivate"
What Happens:
- User's account status changes to Deactivated.
- User is signed out and cannot sign in again until reactivated.
- If the user is an instructor, their classes are reassigned to the instructor you choose.
- Their data remains intact, including classes, content, and submissions.
- The user appears in the list only when Show Deactivated is turned on.
Reactivating Users
Purpose: Restore access to a deactivated user.
Reactivation Process:
- Toggle "Show Deactivated" to see deactivated users
- Click "Reactivate" action on a deactivated user
- Confirm in dialog
- Click "Reactivate"
What Happens:
- Account status changes back to "Active"
- User can log in again
- All data is intact
- If they were an instructor, they'll need to be reassigned to classes
- Their old classes may now be taught by someone else
- Admin must manually reassign if needed
Deleting Users
Purpose: Permanently remove a user who never completed setup.
Availability: Only for users with status "Setup Pending"
Deletion Process:
- Click "Delete" action on a setup-pending user
- Confirmation dialog appears with warning:
- "This action cannot be undone!"
- Shows user's email and name for confirmation
- Click "Delete User"
What Happens:
- User is permanently removed from the app
- The setup email link no longer works
- Cannot be recovered
- Appropriate for:
- Invitation sent to wrong email
- Person declined invitation
- Duplicate invitations
CAUTION
Cannot Delete Active or Deactivated Users: Once a user has set their password, you can only deactivate them (not delete). This protects data integrity.
Managing Organization Users: Super Admin (Platform-Wide)
Organization List View:
Columns:
- Name: Organization display name
- Description: Organization description
- In Arrears: Payment status (see Payment Management below)
Actions:
- Add Organization: Create new organization
- View: Click row to navigate to organization details
- SSO Settings: Configure enterprise SSO providers for an organization
- Toggle Arrears: Manage payment status
Creating Organizations (Super Admin)
Button: "Add Organization" (top-right of organization list)
Step-by-Step:
Click "Add Organization" → Dialog opens
Fill in Organization Information:
- Name (Required): 3-50 characters
- Description (Optional): Max 500 characters
- Time zone (Required): Select the organization's time zone
- Organization Logo (Optional): Upload image
Click "Create Organization"
What Happens:
- Organization is created
- If logo uploaded, it's associated with the organization
- Organization appears in list
- You can now add users to it
- Initial setup: Has 0 users, 0 classes
Enterprise SSO Management (Super Admin)
Enterprise SSO lets an organization sign in through its normal work or school account.
Provider List View:
Columns:
- Organization: Hidden when opened from a specific organization
- Provider: Display name shown to administrators
- Issuer: Identity-provider issuer URL
- Domains: Allowed email domains, or "Any verified email"
- Status: Active or disabled
Adding or Editing a Provider:
- From the organization list, select SSO Settings for an organization.
- Select Add Provider, or edit an existing provider.
- Fill in:
- Display Name
- Issuer URL
- Client ID
- Client Secret
- Scopes (one per line or comma separated)
- Allowed Email Domains (optional)
- Set the provider toggles:
- Enabled: Users can sign in with this provider.
- Require SSO: Organization users must use SSO when signing in.
- Auto-link verified email: Existing accounts with verified provider emails are linked automatically.
- Select Save.
When editing a provider, leave Client Secret blank to keep the existing secret.
Deleting a Provider:
Use Delete only when the provider should no longer be used. Existing identity links for that provider are removed with it.
Language Management (Super Admin)
Super admins manage the platform language list from Languages in the sidebar.
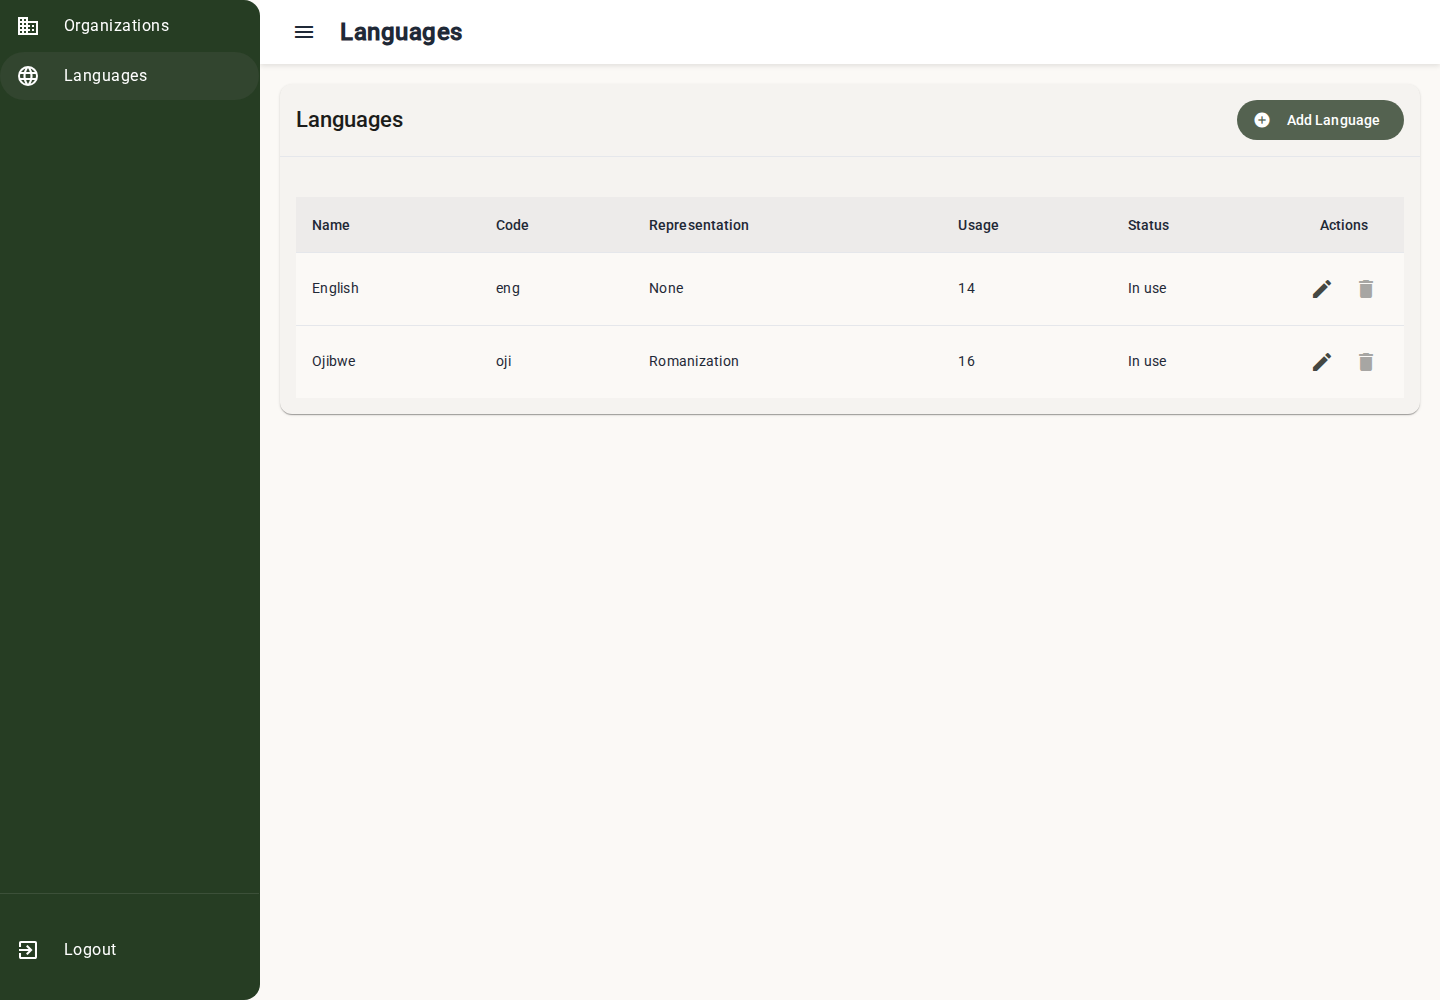
Language List View:
Columns:
- Name: Language display name
- Code: ISO code or short internal code
- Representation: Optional pronunciation or romanization label
- Usage: Number of records currently using the language
- Status: Whether the language is unused or already in use
Adding or Editing a Language:
- Open Languages.
- Select Add Language or edit an existing language.
- Enter Name and Code.
- Enable Supports pronunciation/romanization text when translations for this language should include a second display field.
- Set Representation Label, such as Pronunciation or Romaji.
- Select Save.
Languages that are already in use can be edited, but they cannot be removed. Unused languages can be removed from the list.
Payment Management (Super Admin)
Organizations can be marked "In Arrears" to block access due to payment issues.
Toggle Arrears Status:
From Organization List:
- Click "Toggle Arrears" button (money_off icon) on any row
- Confirmation dialog appears:
- If marking in arrears: "Mark [Name] as in arrears? They will be blocked from accessing the system."
- If clearing arrears: "Remove in arrears flag from [Name]? Access will be restored."
- Confirm
What Happens:
When Marked In Arrears:
inArrearsAttimestamp recorded (current date/time)- All users in organization are blocked from logging in
- Existing sessions are terminated
- Login attempts show error: "Your organization's account is suspended. Please contact support."
- Column shows arrears date (e.g., "2025-02-15")
When Arrears Cleared:
inArrearsAtset to null- Access immediately restored
- Users can log in again
- Column shows "No"
IMPORTANT
Arrears Blocks Entire Organization: All instructors, admins, and students in the organization are affected. Use carefully!
Best Practices for Organization Management
User Management:
Do:
- Give clear, descriptive names when inviting users
- Assign roles accurately (Instructor vs Admin)
- Reassign classes before deactivating instructors
- Keep deactivated users' data for historical records
- Review "Setup Pending" users periodically (follow up on invitations)
Don't:
- Remove your own admin role (you'll lock yourself out)
- Delete users with active classes (deactivate instead)
- Change organization time zone frequently (confuses scheduling)
- Share admin credentials (invite as separate user)
Organization Settings:
Do:
- Choose the time zone carefully based on where most users are located
- Upload organization logo for branding
- Write clear, informative descriptions
- Update settings when organization changes (name, mission, etc.)
Don't:
- Use UTC unless you truly operate globally
- Change the time zone mid-semester (disrupts lesson schedules)
- Leave description empty (helps distinguish organizations)
Payment Management (Super Admin):
Do:
- Communicate with organization before marking in arrears
- Document reason for arrears in external system
- Clear arrears promptly when payment received
- Confirm you selected the correct organization before taking action
Don't:
- Mark in arrears without warning
- Leave organizations in arrears indefinitely
- Use arrears for non-payment reasons (use deactivation for other issues)
Organization Permissions Reference
| Action | Super Admin | Admin | Instructor Admin | Instructor |
|---|---|---|---|---|
| View org details | All orgs | Own org | Own org | No |
| Edit org settings | All orgs | Own org | Own org | No |
| Create organization | Yes | No | No | No |
| List all organizations | Yes | No | No | No |
| Manage users | All orgs | Own org | Own org | No |
| Add users | All orgs | Own org | Own org | No |
| Edit users | All orgs | Own org | Own org | No |
| Deactivate users | All orgs | Own org | Own org | No |
| Delete users | All orgs | Own org | Own org | No |
| Toggle arrears | Yes | No | No | No |
| Manage SSO providers | Yes | No | No | No |
| Manage platform languages | Yes | No | No | No |
| View all classes | All orgs | Own org | Own org | Assigned classes only |
Troubleshooting
User didn't receive invitation email
- Check spam/junk folders
- Verify email address is correct (edit and resend)
- Ask platform support to check email delivery settings
- Delete and re-invite with correct email
Can't remove instructor role
- User has active classes assigned
- Deactivate user and reassign classes to someone else
- OR wait until classes are completed or deleted
Can't remove own admin role
- This is intentional (prevents lockout)
- Have another admin change your role
- If you're the only admin, create another admin first
Organization time zone wrong
- Edit organization settings
- Select the correct time zone
- Save changes
- Warning: Existing lesson dates may be affected
Deactivated user needs access
- Toggle "Show Deactivated" in user list
- Click "Reactivate" on their row
- Confirm
- Reassign to classes if needed
Summary: Organization Admin Workflow
- Super admin creates the organization.
- Admin is invited as the first user.
- Admin sets up the organization name, time zone, and logo.
- Admin invites instructors.
- Instructors set passwords and sign in.
- Instructors create classes and teach.
- Admin monitors users and deactivates or reactivates accounts when needed.
- Super admin manages payment status when needed.
Good organization management keeps access clear, protects student work, and helps instructors find the classes and tools they need.