Appearance
Information Entries
Information entries are lesson pages students read, view, or listen to before continuing. Use them to introduce vocabulary, explain cultural context, show images, share listening material, or give instructions before a set of questions.
Overview
Lessons contain two types of content, ordered together in a single sequence:
| Content Type | Purpose | Graded automatically? |
|---|---|---|
| Questions | Interactive exercises students answer | Yes (except Record Audio) |
| Information | Text, images, linked translations, and audio for context and reference | No |
Students see information entries inline alongside questions as they work through a lesson. This makes them ideal for providing explanations or reference material right where it's needed.
Creating an Information Entry
- Open a lesson.
- Scroll to the Content section.
- Click "Add Content" and select Information.
- The information editor opens.
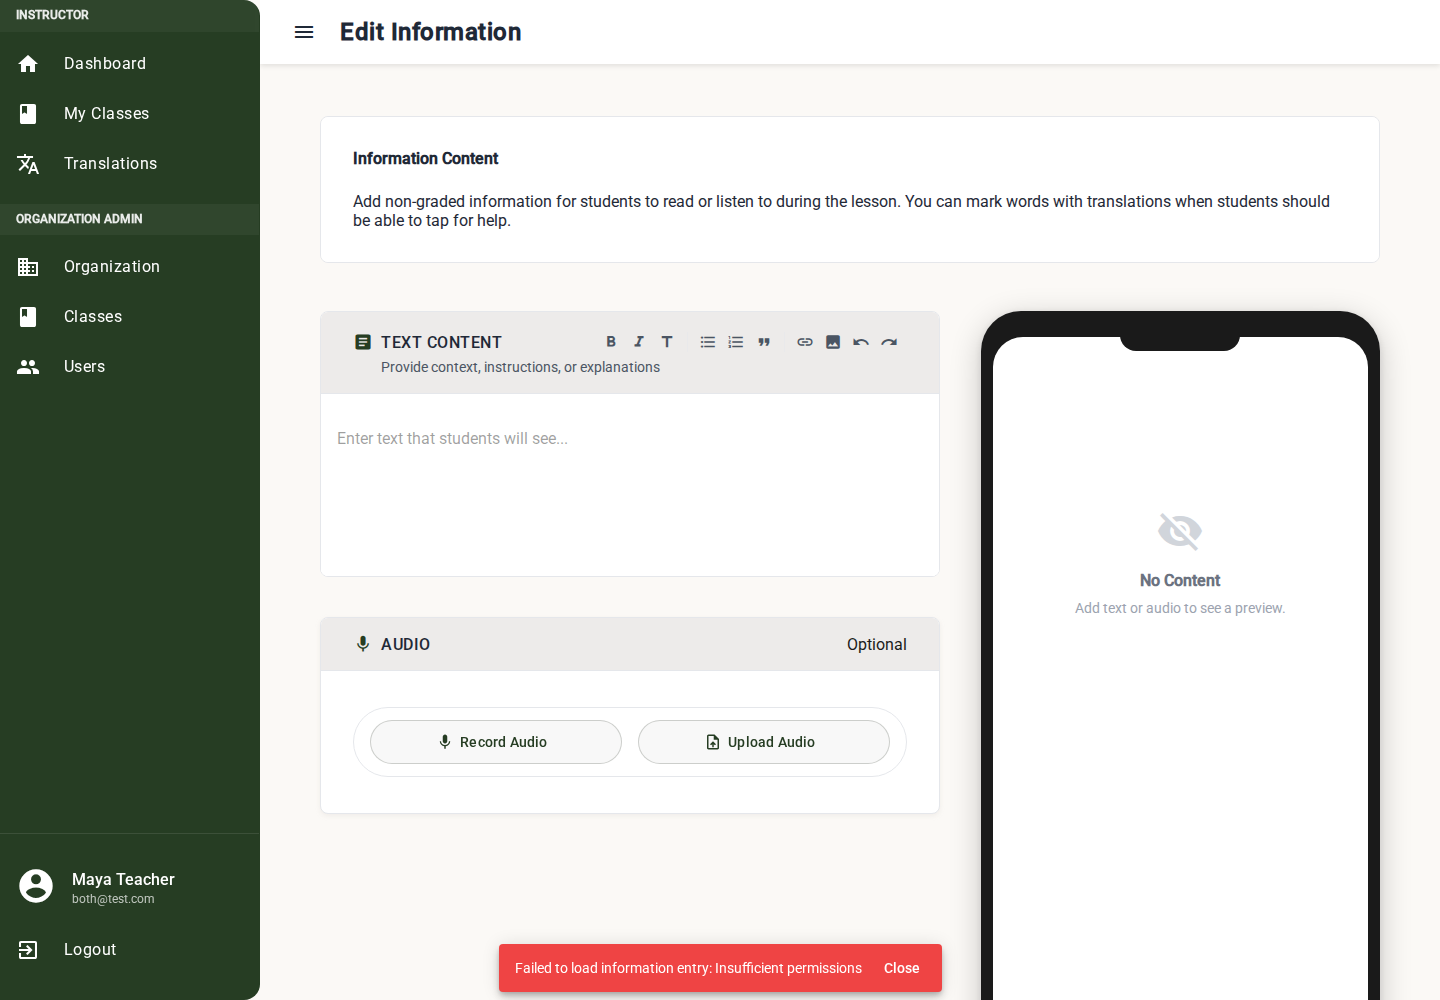
The Information Editor
The information editor shares the same layout and controls as the question editors, so the experience is consistent.
Adding Text
- Click into Text Content.
- Type or paste the text students will see.
- Use the toolbar for headings, bold, italic, lists, quotes, links, images, and translation links.
- Use Translatable when students should be able to tap words for translation help.
The information editor uses the same rich text editor as question prompts and instructions. See Shared Rich Text Prompt Editor for the full explanation of formatting, translation suggestions, linking existing translations, adding new translated words, and removing translation links.
Example content:
- Vocabulary list: "In this lesson we'll learn greetings: Aaniin (Hello), Boozhoo (Welcome), Miigwech (Thank you)"
- Cultural context: "The Ojibwe greeting 'Aaniin' is used in everyday conversation..."
- Instructions: "Listen carefully to the audio in the following questions and repeat each word."
Adding an Image
- Click in Text Content where the image should appear.
- Select the image toolbar button.
- Select an image file.
- The image uploads and appears inline in the text.
Use cases:
- Cultural images related to the lesson topic
- Diagrams or visual aids
- Photos of objects students will learn vocabulary for
Adding Audio
- Use the Audio section below the text editor.
- Record audio in the browser or upload an existing audio file.
- Preview the audio before saving.
- Remove and re-record if needed.
Use audio for listening passages, pronunciation models, story excerpts, or cultural notes that students should hear rather than only read.
What Must Be Complete
An information entry must have at least one of these before students can see it:
- Visible text or media in the rich text editor
- Audio
If both are missing, a warning appears: "Add text or audio to make this entry valid." You can save an incomplete entry as a draft, but you cannot publish it until it has visible content or audio.
Preview
Like question editors, the information editor has a live preview to show what students will see.
How to Use:
- Edit text and audio in the main editor area.
- Review the preview panel.
- Check formatting, images, linked translations, and audio playback before saving or publishing.
Publishing
Information entries follow the same publishing workflow as questions.
Draft vs Published:
| Status | Students See It? | Instructor Can Edit? |
|---|---|---|
| Draft | No (hidden from students) | Yes |
| Published | Yes (if unit AND lesson are also published) | Yes |
Publishing an Information Entry:
- In the information editor, find the "Published" toggle in the footer bar.
- Toggle it on.
- Click "Save Changes".
- The app checks that the entry has visible text, media, or audio before publishing.
Visibility Requirements:
For students to see an information entry, all four levels must be published:
- The Unit is published
- The Lesson is published
- The Information Entry is published
- The lesson's Available Date has passed (if set)
Saving Your Work
How Saving Works:
- Make your changes (text, image, or published status).
- Click the "Save Changes" button in the footer.
- The app checks that the entry can be saved.
- Success: Green notification Information saved successfully and navigates back to the lesson.
- Error: Red notification with error details. Stay on editor to fix.
Unsaved Changes Protection:
If you try to navigate away with unsaved changes:
- A confirmation dialog appears: "You have unsaved changes. Are you sure you want to leave?"
- Stay: Return to editor
- Leave: Discard changes and navigate away
Best Practices
When to Use Information Entries
- Before a question set: Introduce vocabulary or concepts students will be tested on
- Cultural context: Explain the cultural significance of words or phrases
- Instructions: Provide lesson-specific instructions beyond the default prompts
- Visual reference: Show images students will need for upcoming questions
- Section breaks: Separate groups of questions within a longer lesson
Content Tips
- Keep it concise: Students are in learning mode, not reading mode. Short, focused text works best.
- Use images: A picture of an animal alongside its Ojibwe name is more memorable than text alone.
- Place strategically: Put information entries before the questions they relate to, not after.
- Combine text and images: An image with a brief caption is more effective than either alone.
Example Lesson Flow
A well-structured lesson might look like:
| # | Type | Content |
|---|---|---|
| 1 | Information | "In this lesson, we'll learn animal names in Ojibwe." + image of animals |
| 2 | Multiple Choice | "What is 'dog' in Ojibwe?" |
| 3 | Multiple Choice | "What is 'bear' in Ojibwe?" |
| 4 | Type Answer | "Type the Ojibwe word for 'eagle'" |
| 5 | Information | "Now let's practice pronunciation." |
| 6 | Record Audio | "Say 'Animosh' (dog)" |
| 7 | Record Audio | "Say 'Makwa' (bear)" |
This gives students context before each section and creates a natural learning progression.
Troubleshooting
"Cannot save: validation errors"
- The entry must have visible rich text/media or audio
- Check that the text content is not just empty markup or whitespace
- If the entry is audio-only, confirm that the audio finished recording or uploading
Information entry not visible to students
- Check the Published toggle is on
- Check the parent Lesson is published
- Check the parent Unit is published
- Check the Available Date has passed
Image not displaying in preview
- Ensure the image uploaded successfully and appears inline in Text Content
- Try re-uploading the image
- Check that the image file is a supported format (JPEG, PNG, WebP, BMP, TIFF)